

The American Watchmakers-Clockmakers Institute (also known by the acronym “AWCI”) is the premier organization that teaches and certifies CW21 and CWM21 master watchmakers within the US, comparable to WOSTEP in Europe. They teach all levels of watchmaking education, both in permanent physical locations, temporary locations, and soon their 8-person mobile classroom will allow classes to be taught virtually anywhere in the continental United States.

AWCI Watchmaking Class
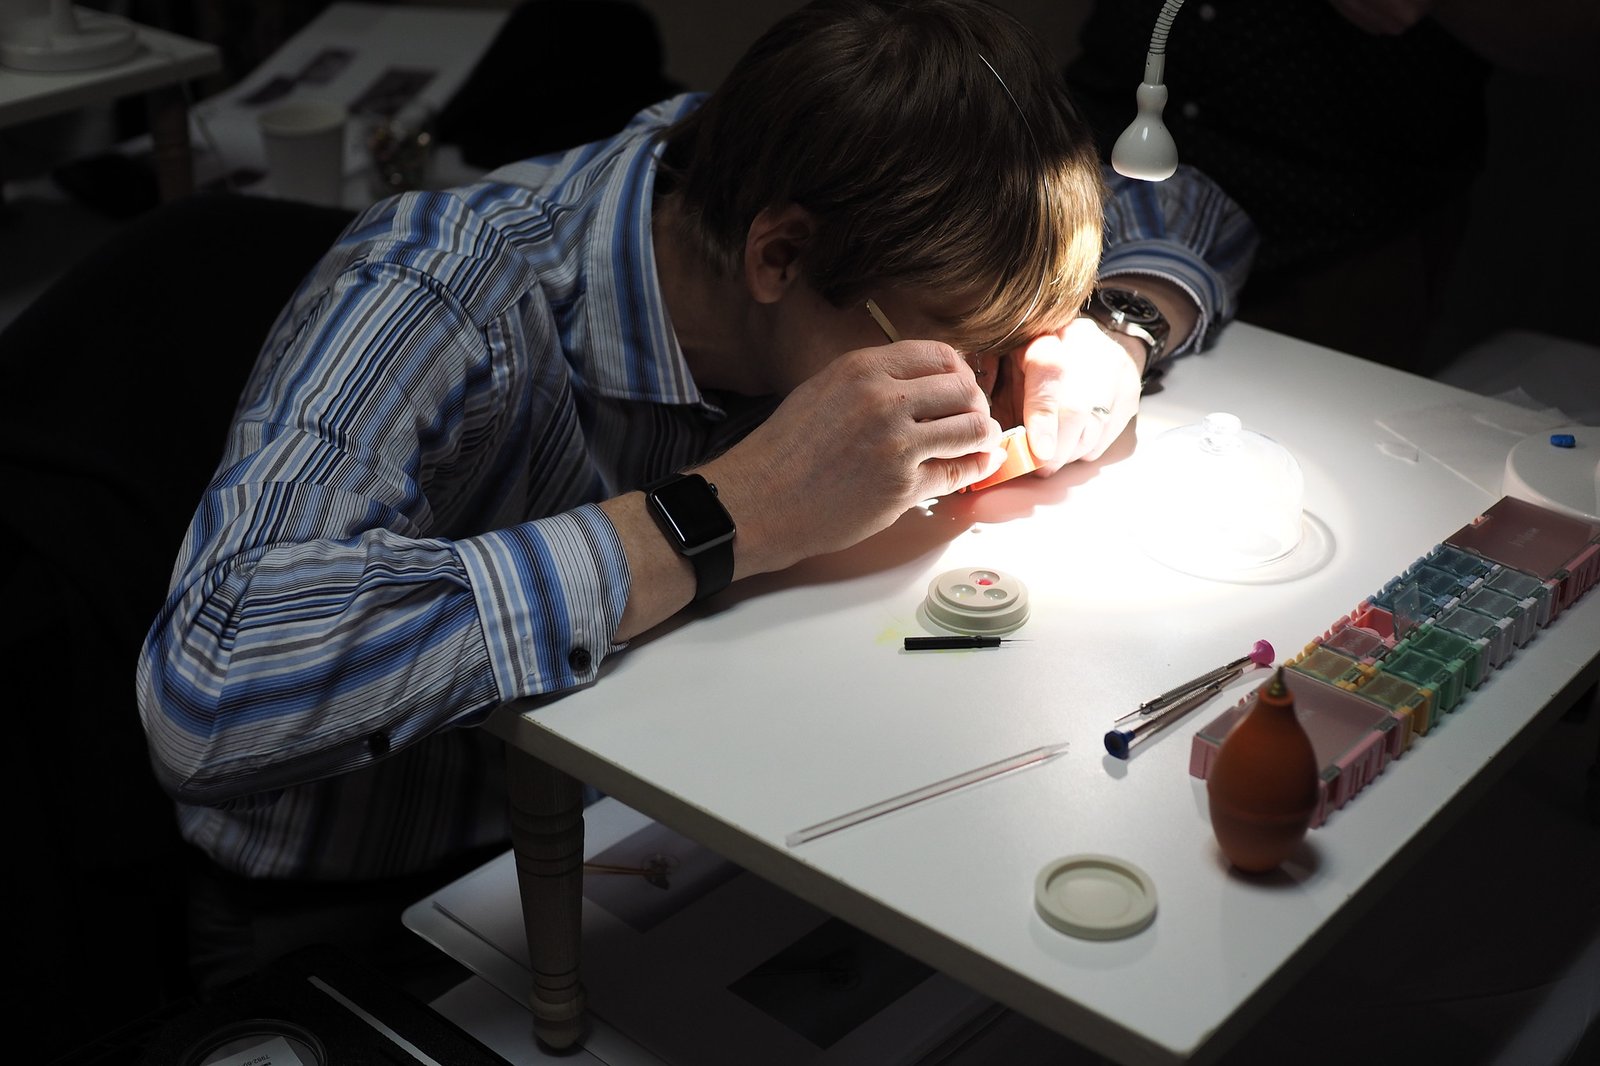
One of the courses they teach is an entry-level class called “Build-A-Watch” which is essentially their Watch 101. The class is designed for anyone interested in watchmaking, but to be clear this is a comprehensive all-day class, not a one-hour workshop. You assemble the movement and the entire watch, from start to finish, over the course of 9+ hours. No easy feat to complete, or to teach, especially to non-watchmakers.

The Watchmakers
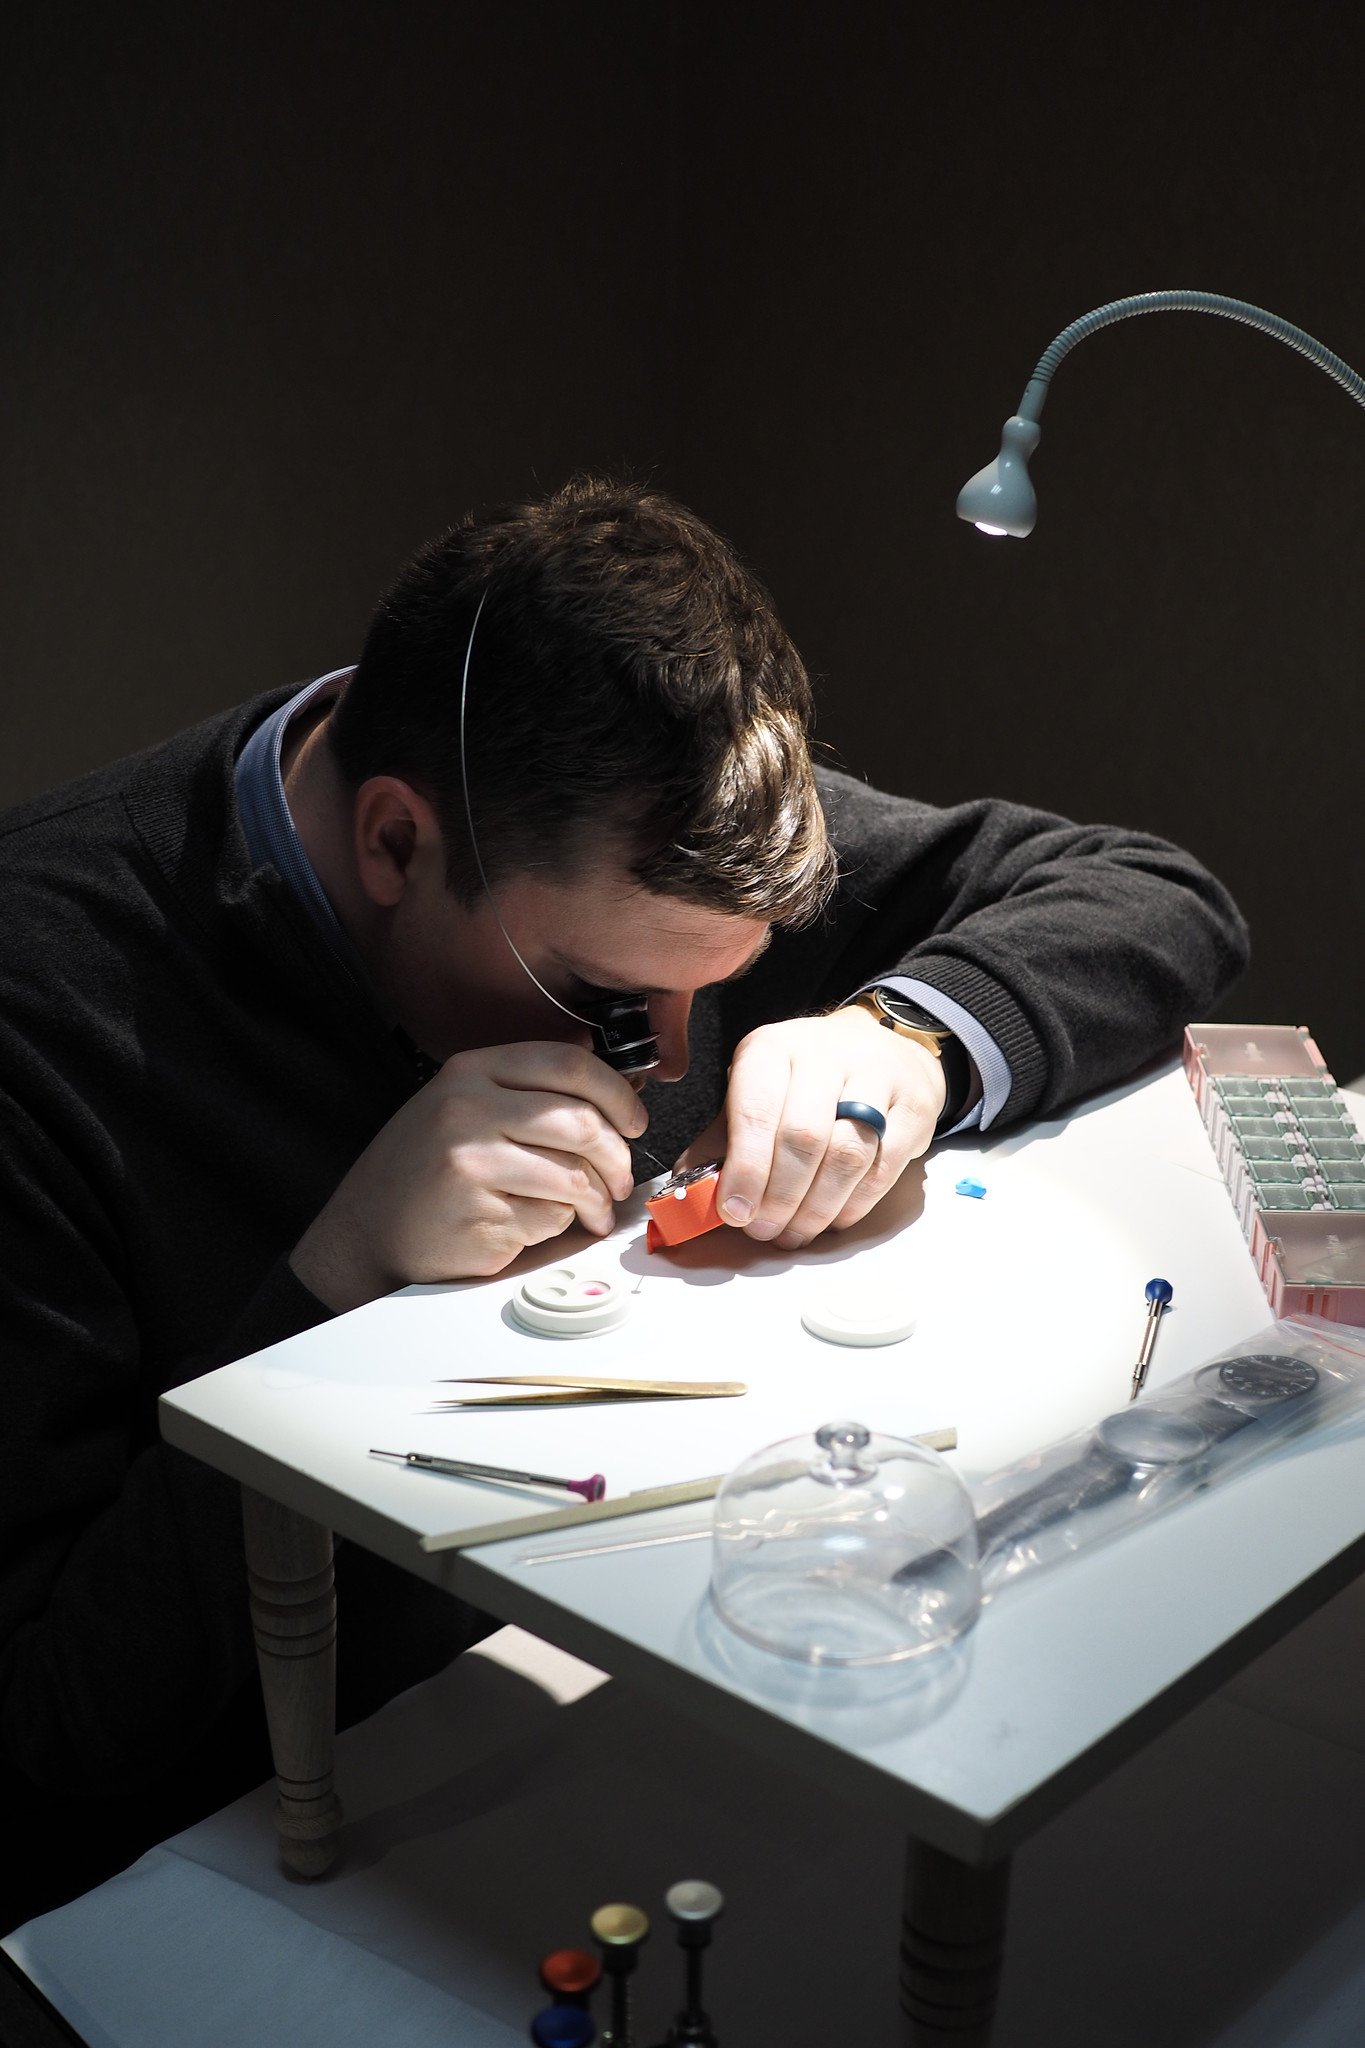
In December 2018, on behalf of Professional Watches, I attended one of the Build-A-Watch watchmaking course in New York City, taught by three certified watchmakers: the AWCI Executive Director – Jordan Ficklin, the AWCI President – Aaron Recksiek (owner of Mt. Olympus Clock Shop), and Justin Harell (owner of The Watchmaker’s Shop). Below I will walk through the process of assembling a watch and movement, step-by-step, as well as commentary about the nuances of the process. This article goes pretty far in-depth, and you can get a very good understanding of the class, however, to really learn on a cerebral level, the only way is to actually take the class in-person.

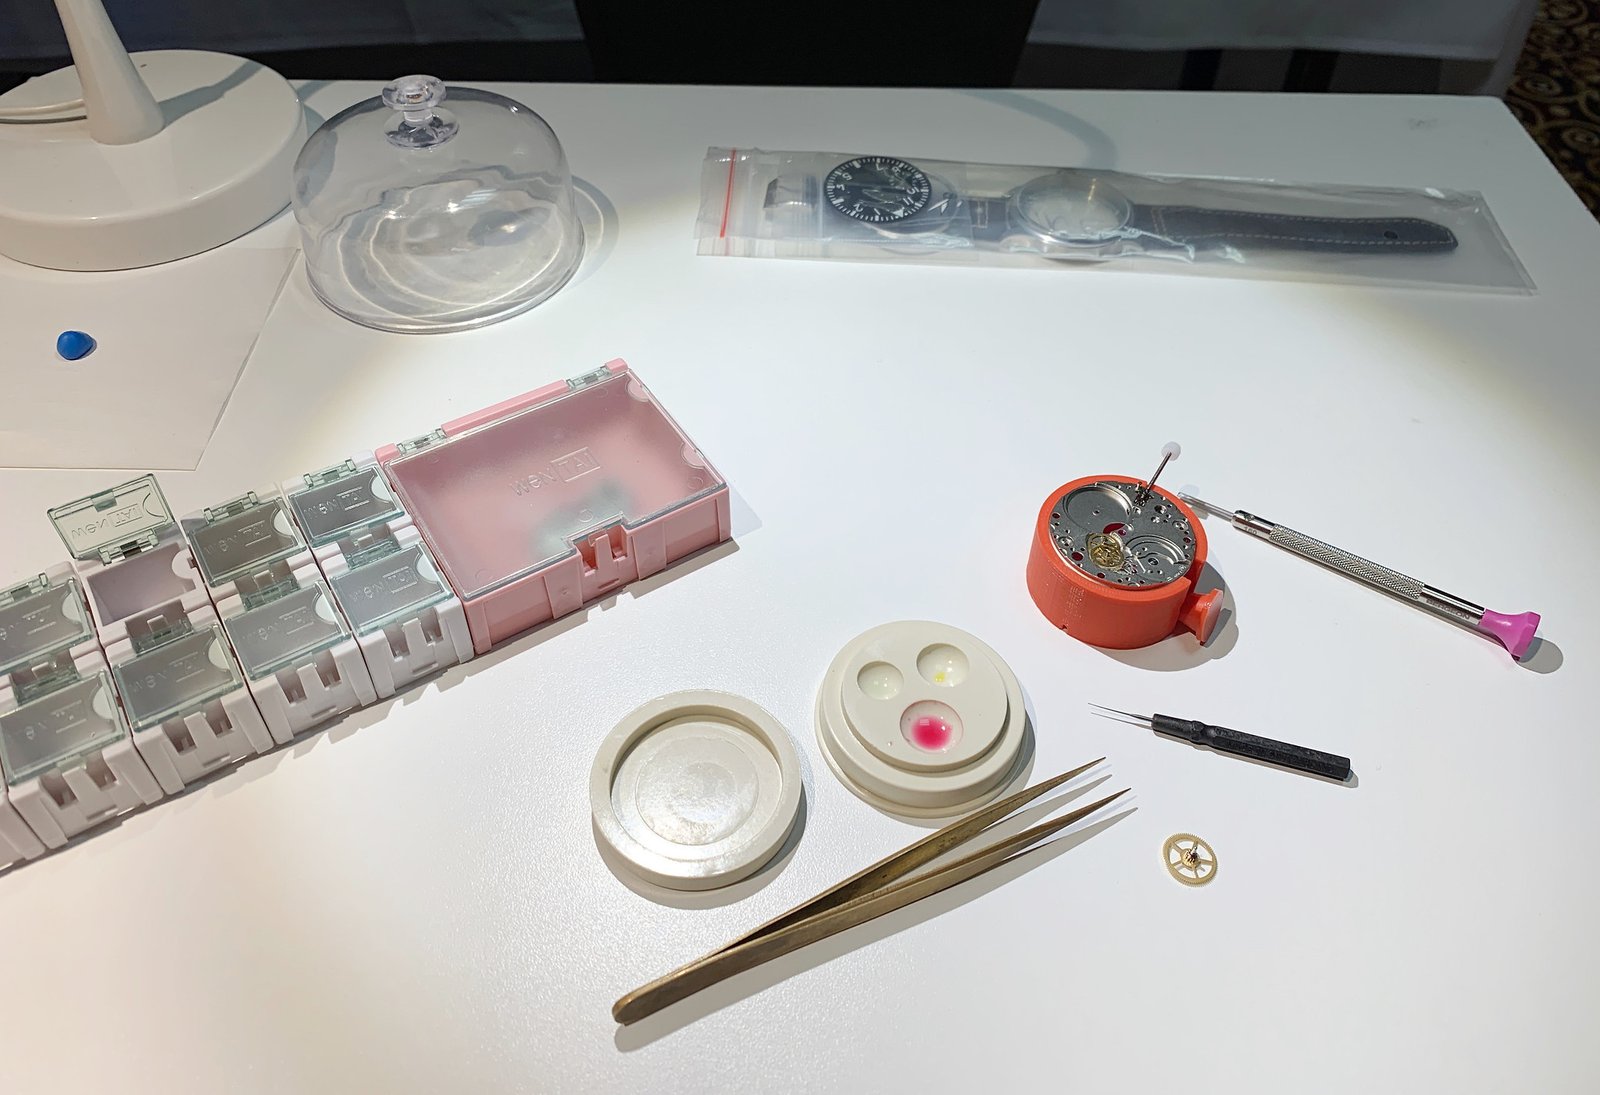
Preparing Tools/Components/First Step
First, before you even begin doing an assembly, you have to check your screwdrivers and tweezers, under a loupe, to make sure the heads are flat. Then make sure all the parts are ready, nothing is missing, and your area is clean. You must also take care to understand how to handle the soft metal tweezers so as not to scratch components, it’s about how you hold the components, where you place the teeth, and so forth. Same with the screwdrivers, a certain level of dexterity is required. Even the hand press, which appears to be a simple press, requires considerable finesse. Once all this is accounted for, you then begin a watchmaking journey that requires over 45 intricate steps that, crucially, must be done correctly, and in proper order, or your watch will not work at the end. There’s some margin for error, but not much, and that’s one reason there is a 1:3 watchmaker-to-student ratio.


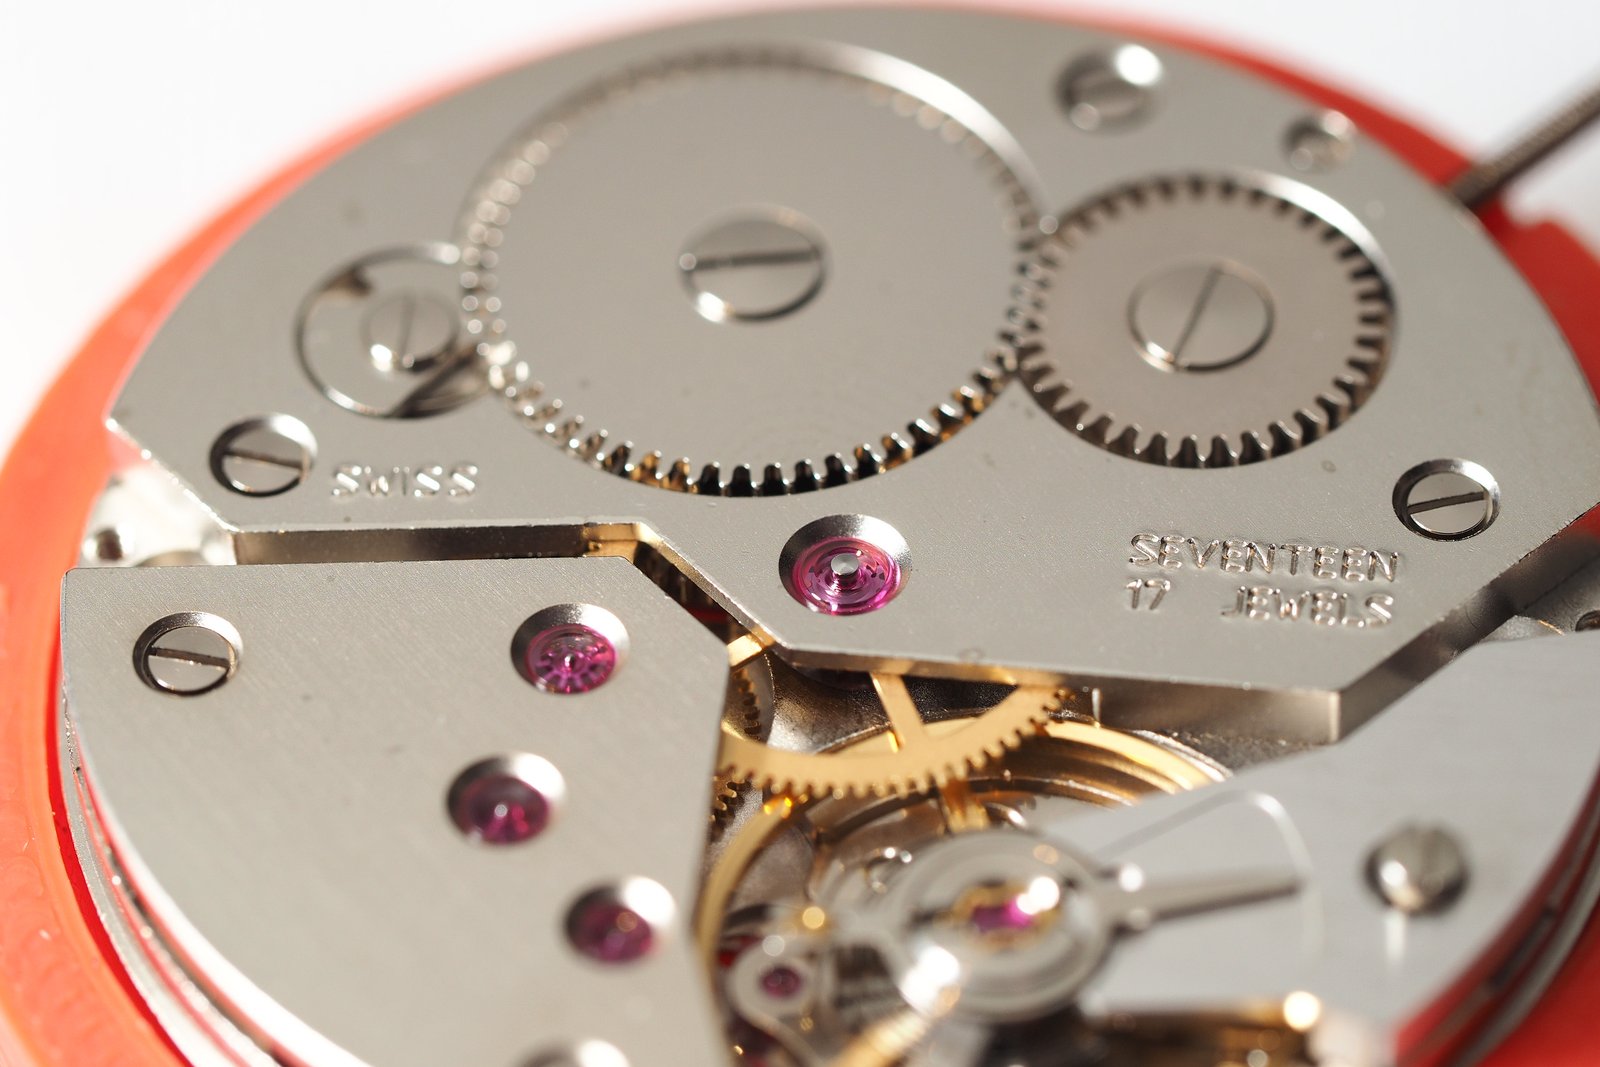
Gear Train Wheels
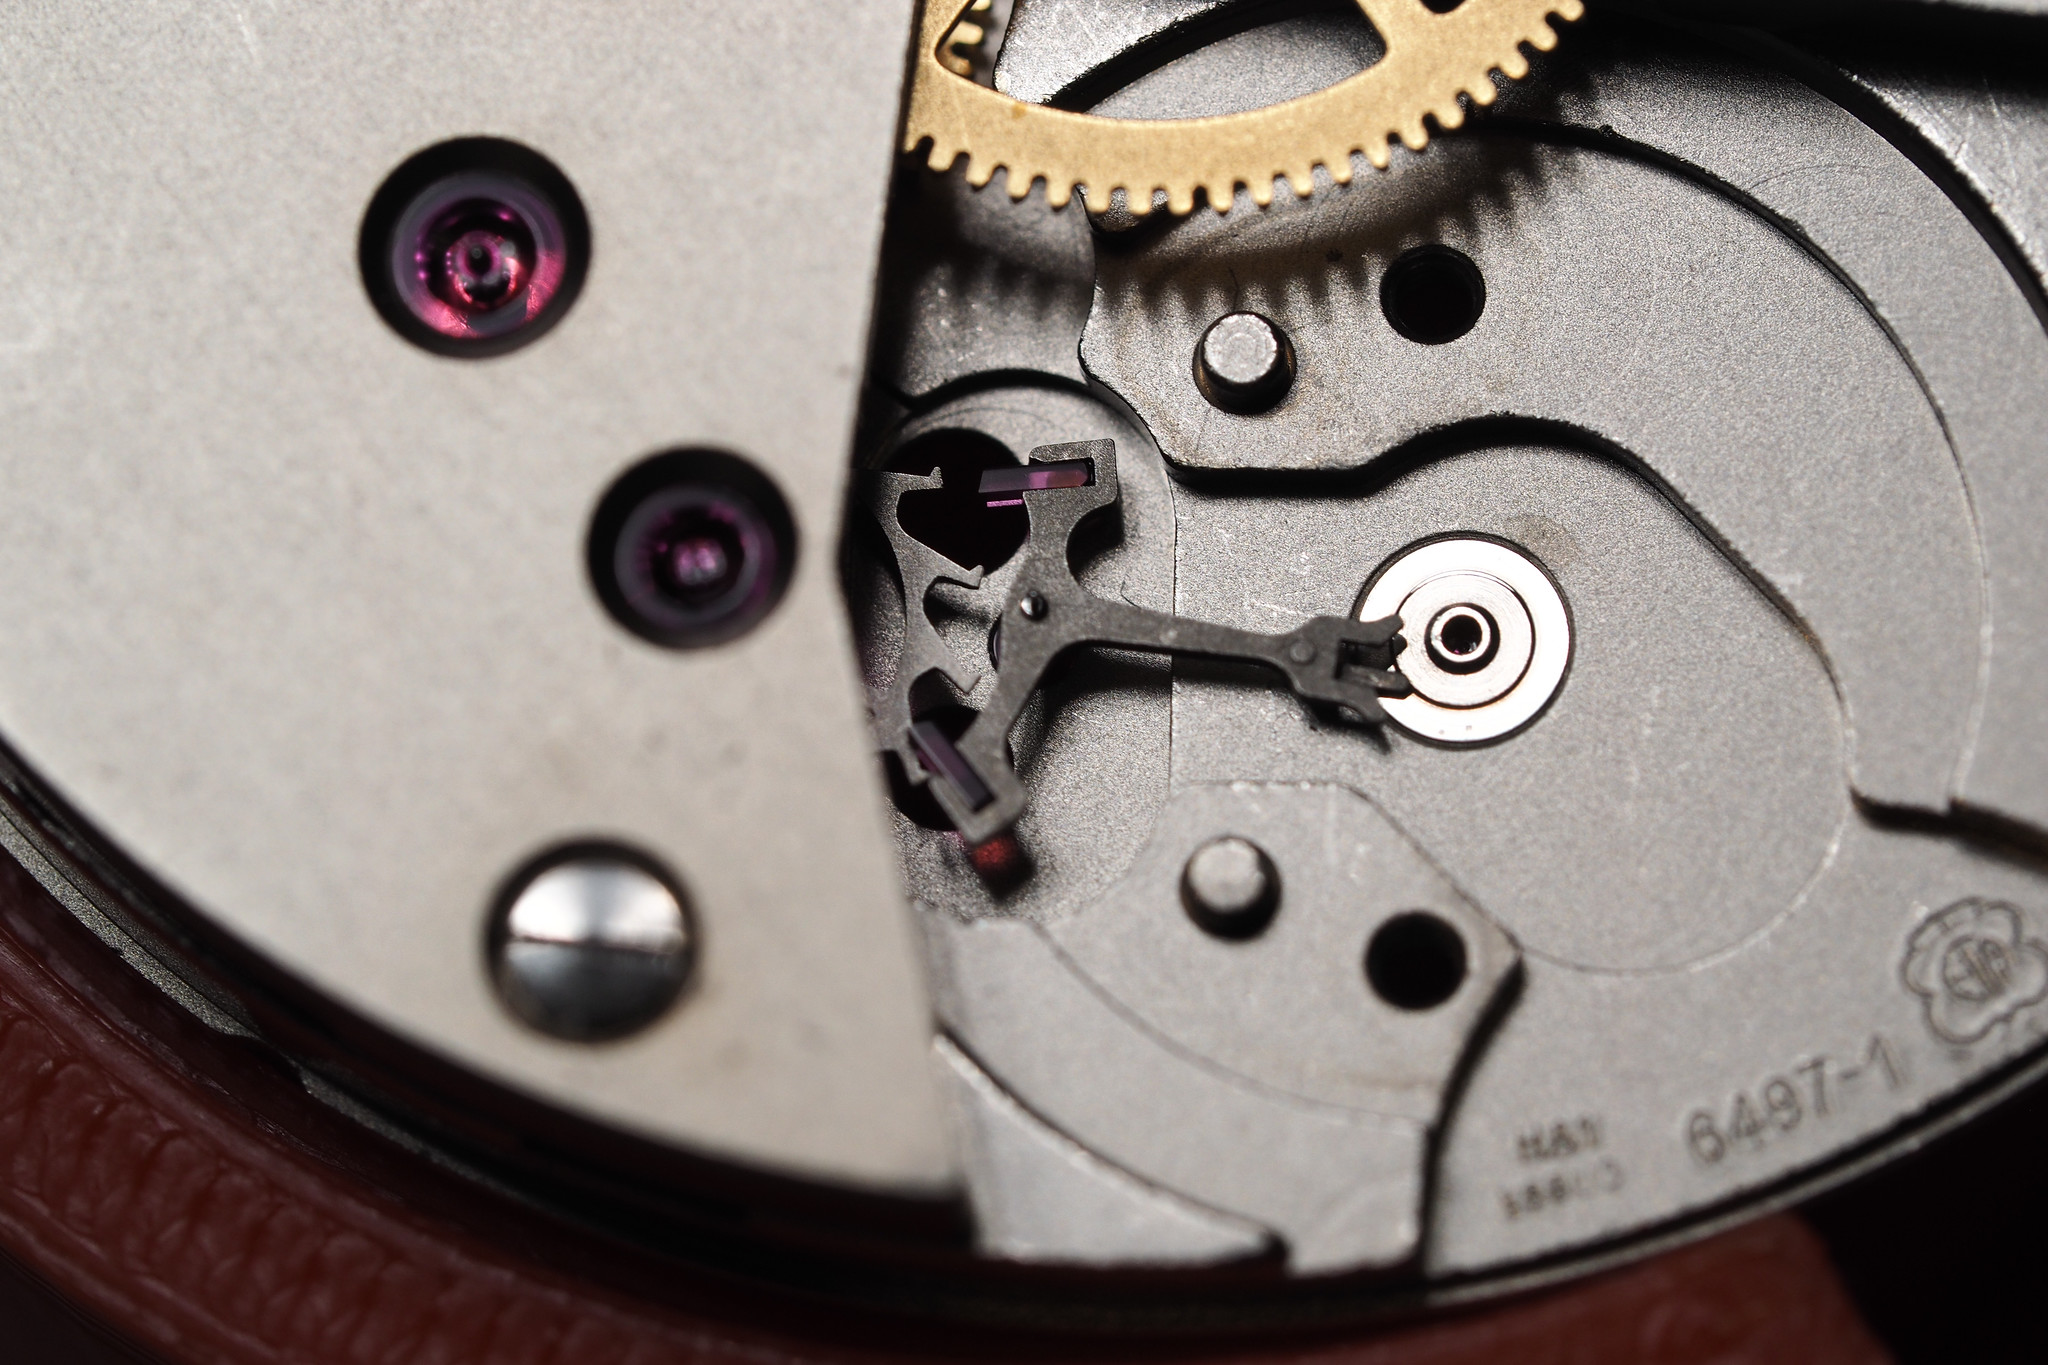
1- Remove balance assembly from the mainplate of the ETA 6497-1, place inside movement holder and secure, 2- Install Escape wheel with tweezers, 3- Install 3rd wheel tweezers, 4- oil the 4th wheel’s pivot (before installing on the movement side of the mainplate), 5- Install the 4th wheel with tweezers, 6- Oil the center wheel, 7- Install the center wheel with tweezers
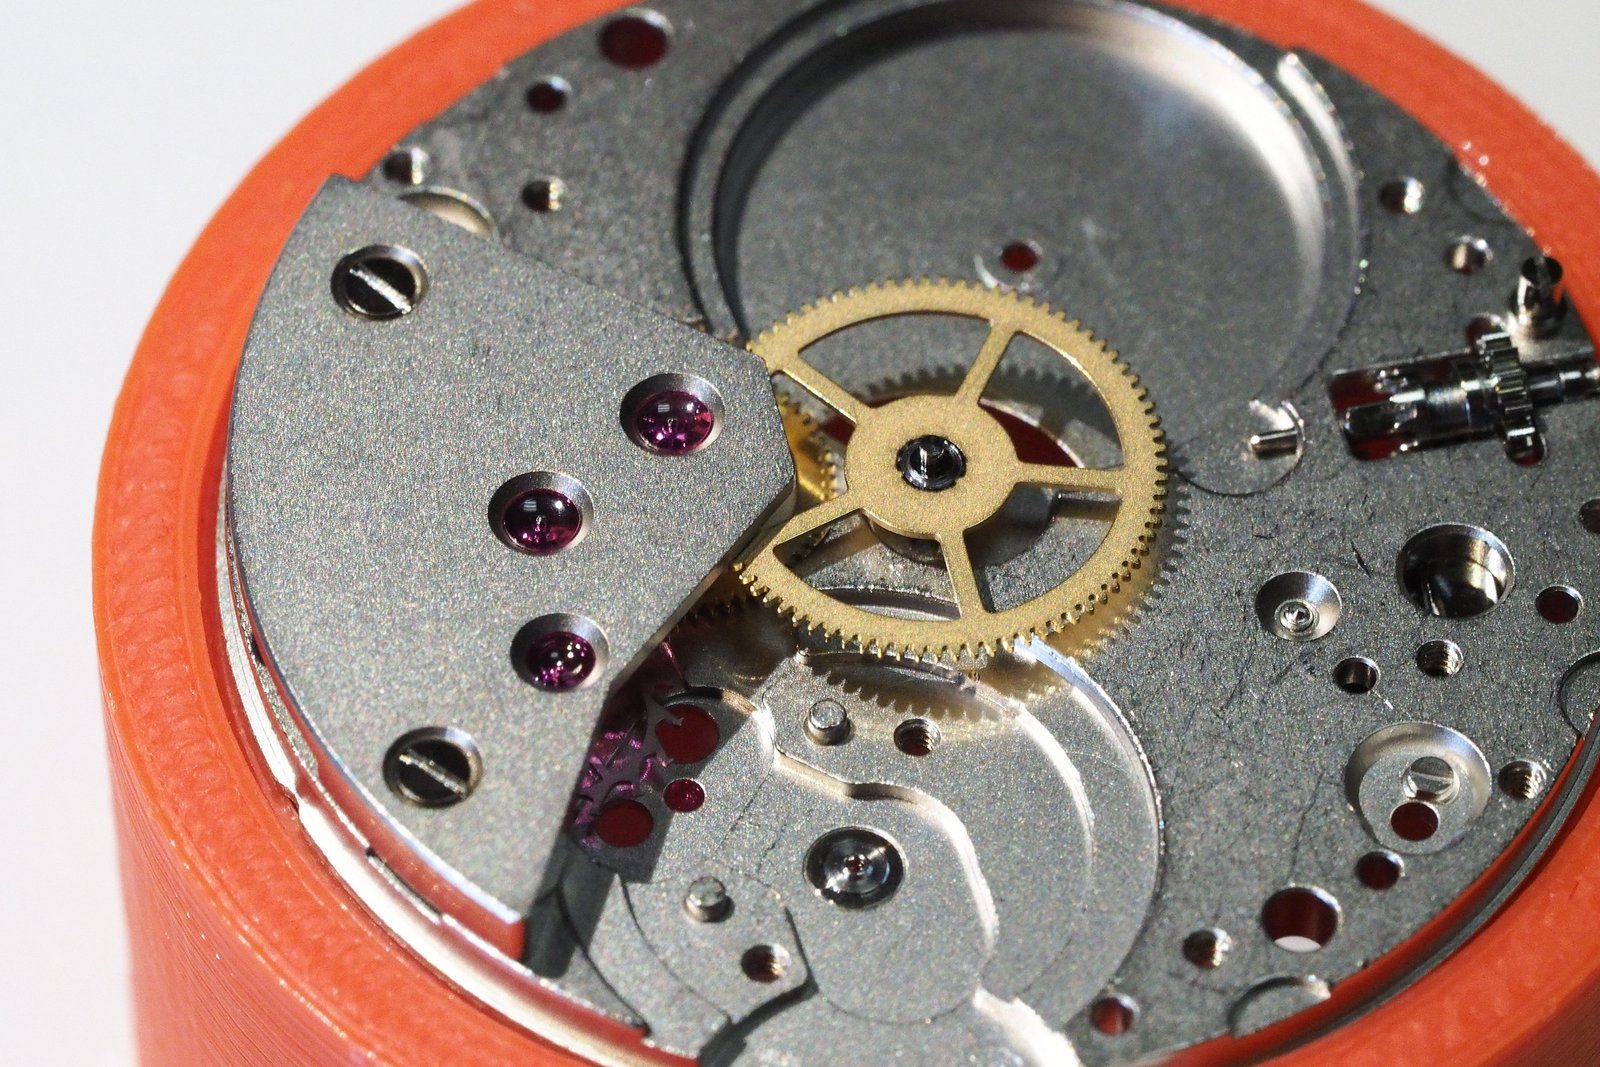

Installing First Bridge
8- Loosely place train bridge on top of escape, 3rd, and 4th wheels, partially covering the center wheel, 9- tighten 2 screws on train bridge – pink screwdriver (just snug them the width of the slot more), 10- using plastic stick rotate the center wheel and ensure the other wheels are all moving correctly (spinning freely)

Mainspring Barrel
11- oil both sides of the barrel (1st wheel) pivots, 12- install barrel (slides under the center wheel), 13- Put barrel bridge in place (using the set pin to align), tighten 3 screws
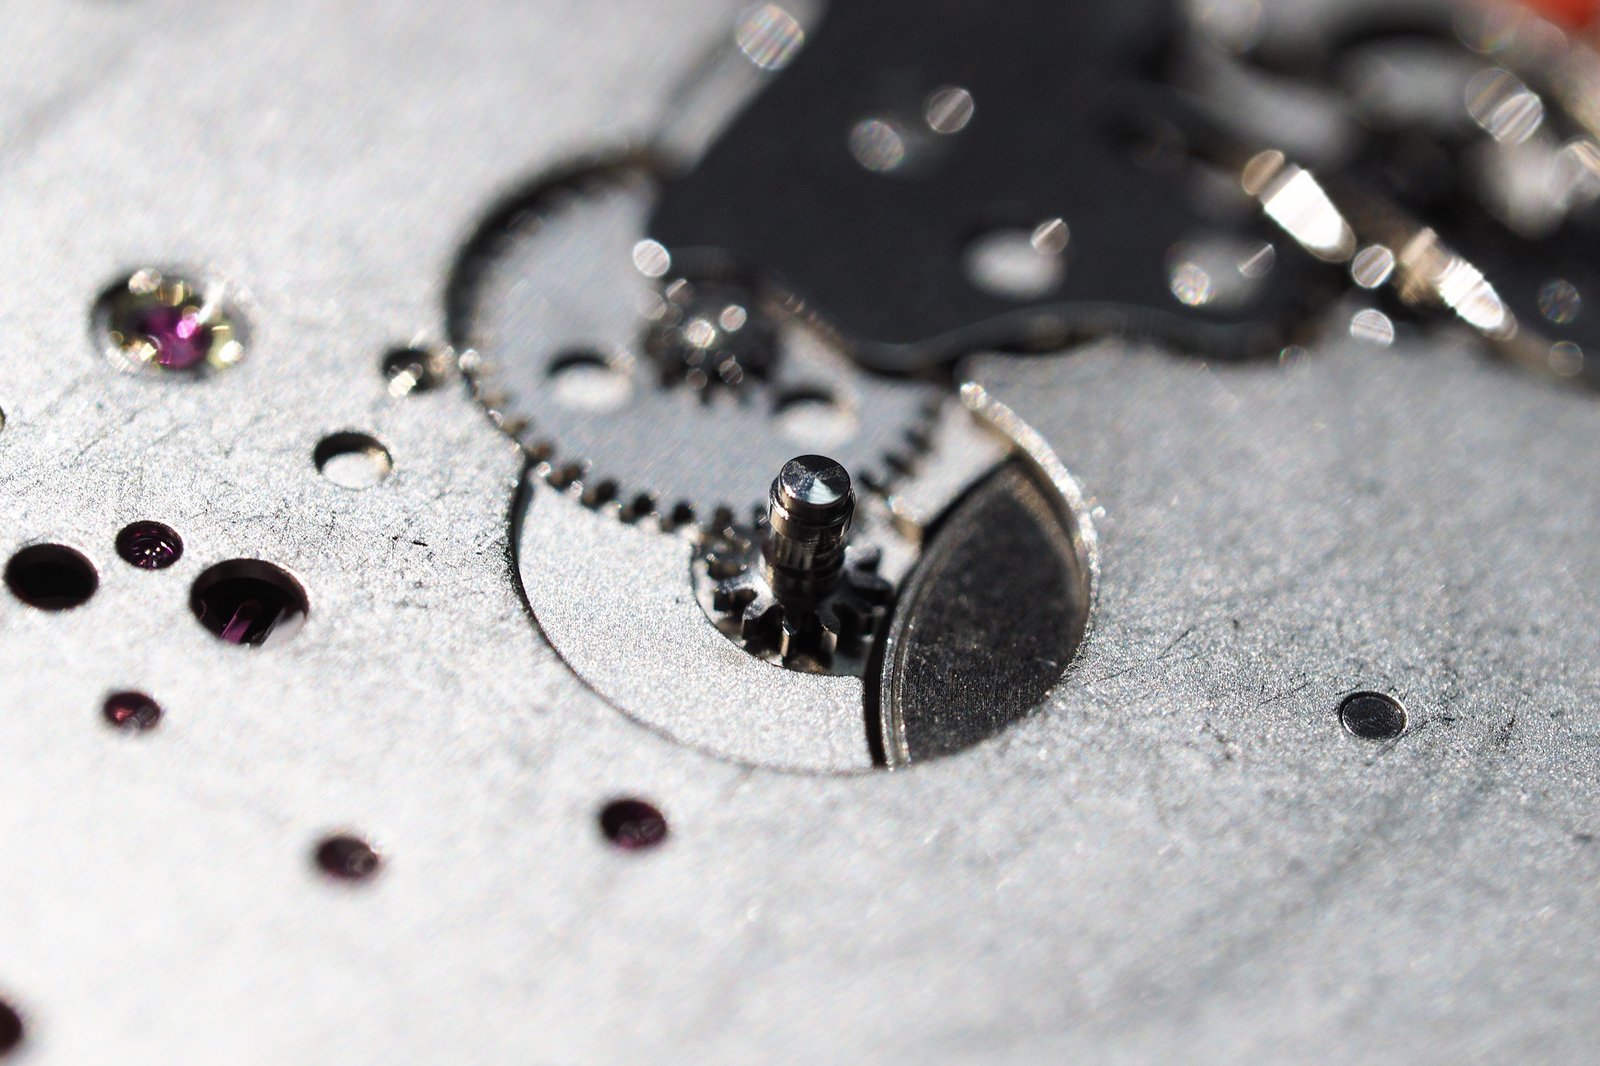
Crown Assembly
14- install ratchet wheel, 15- screw-down ratchet wheel (hold ratchet in place with wooden tool while doing it), 16- place crown wheel ring on crown wheel, 17- place small drop of oil on vertical center of crown wheel ring, 18- install crown wheel (recessed finished side up), 19- screw-down crown wheel using the blue screwdriver
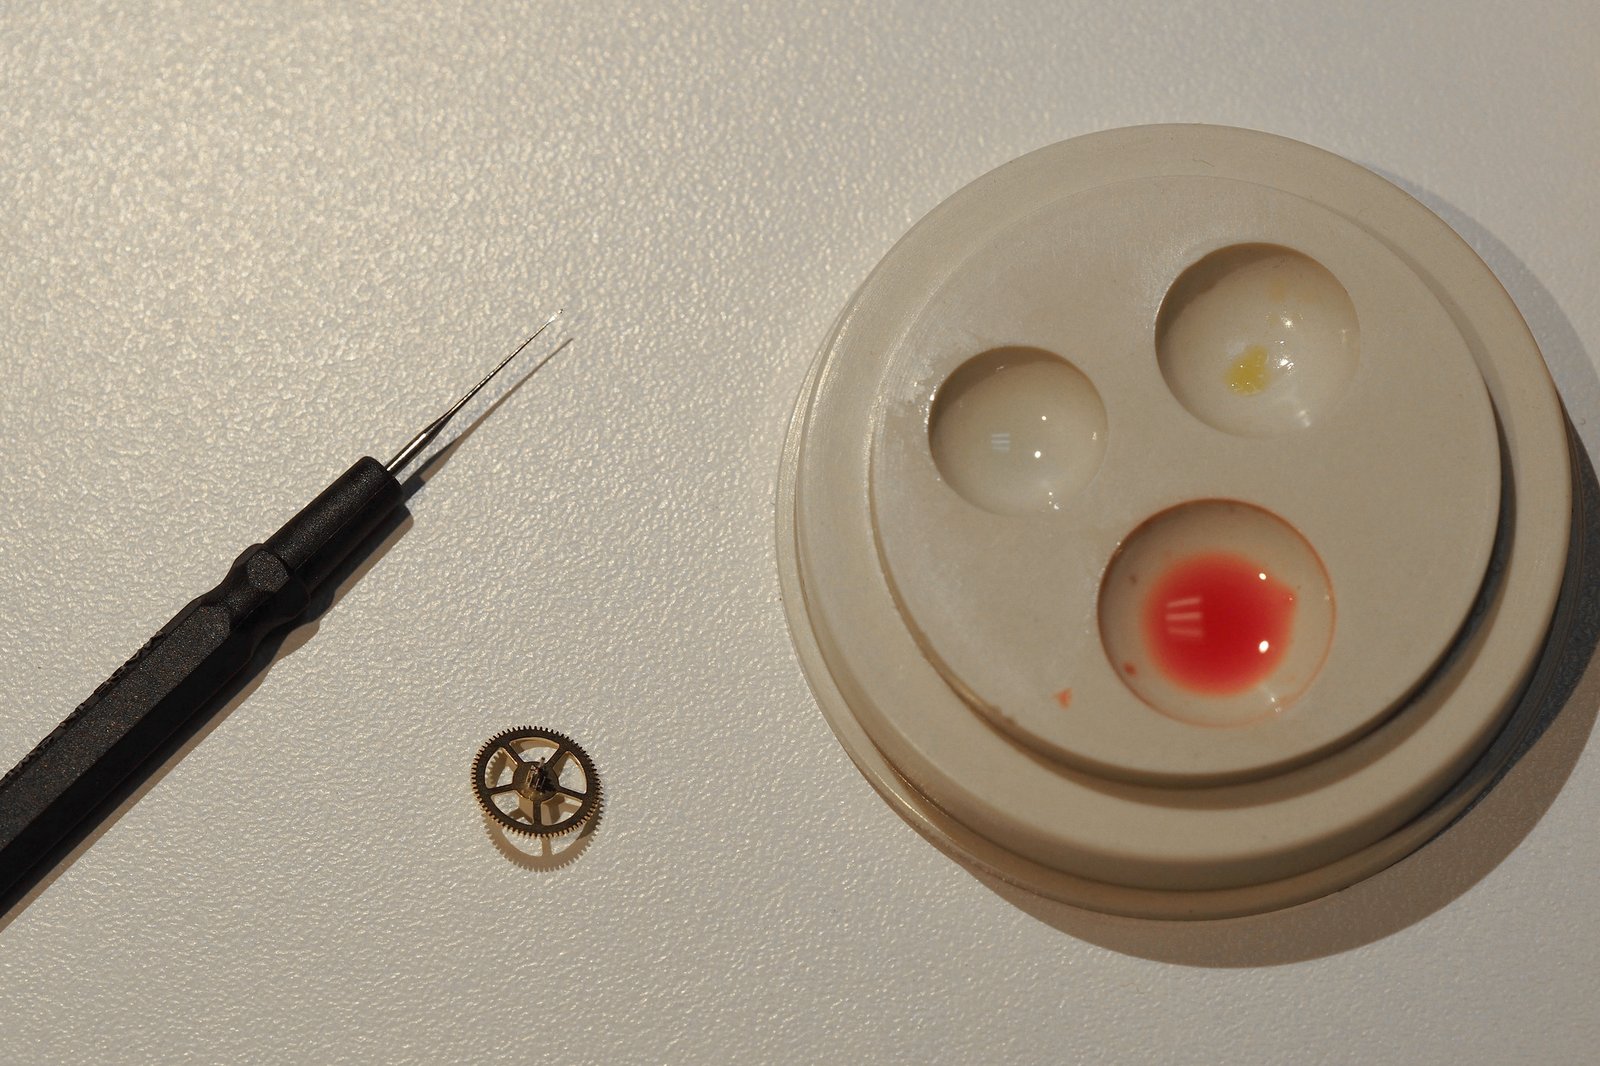

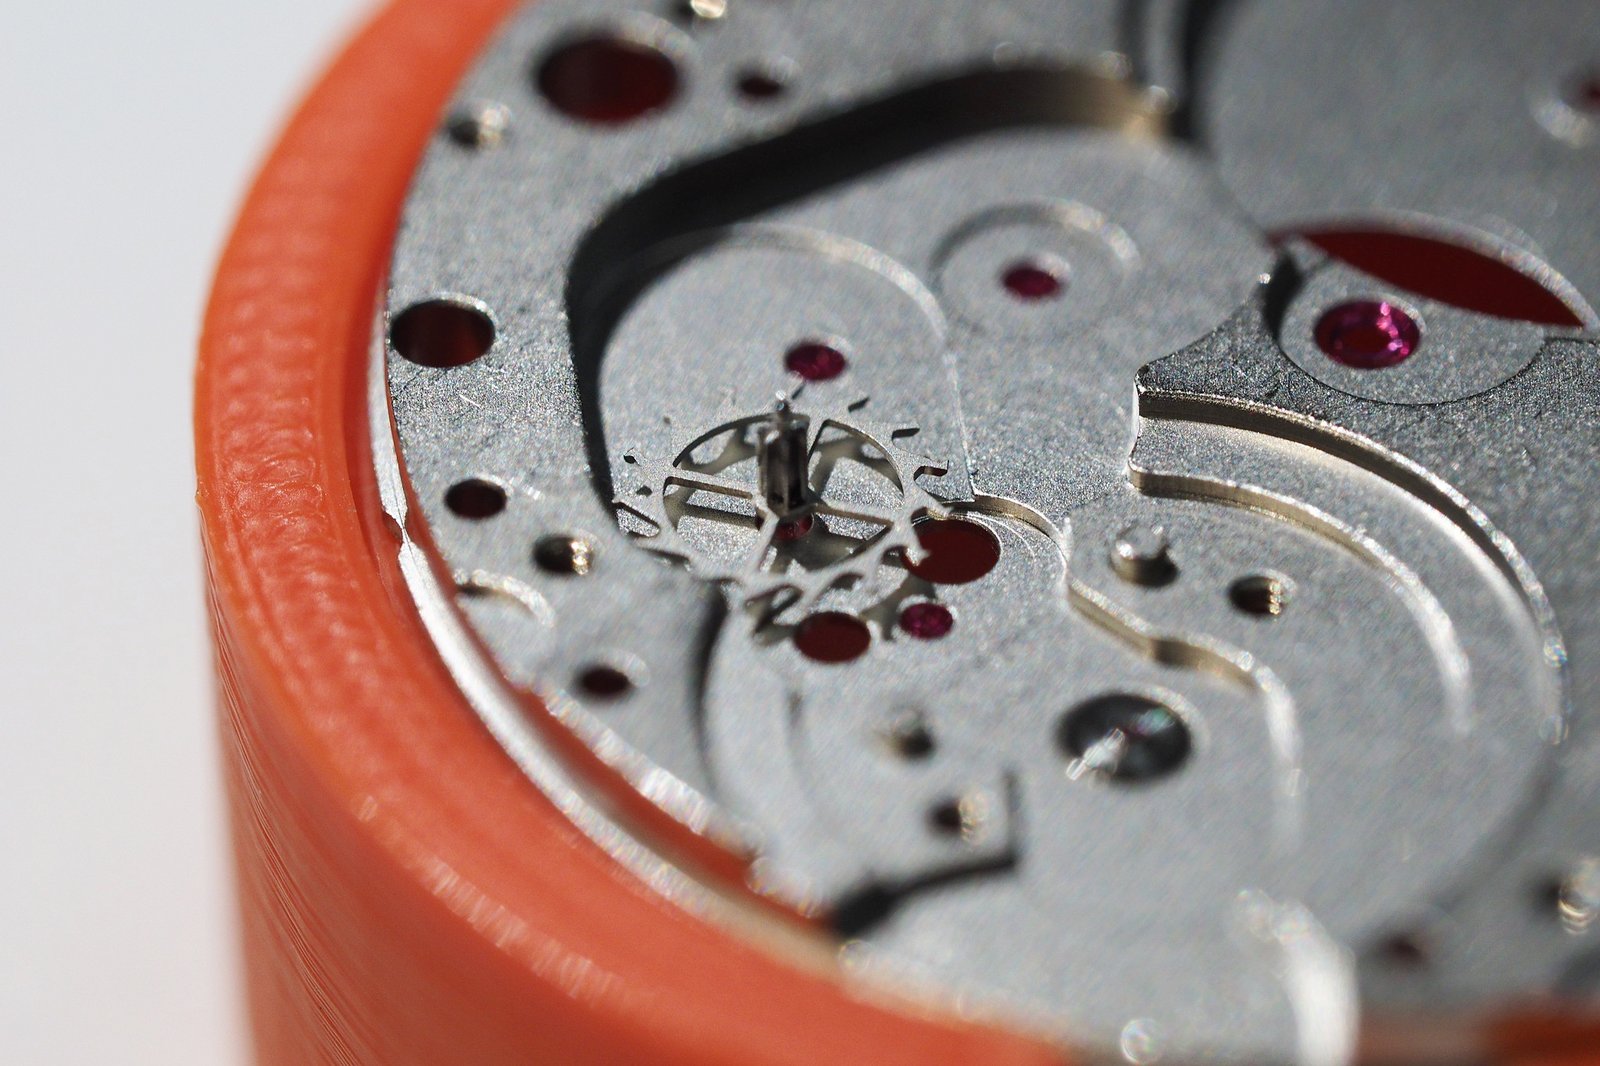
Oil Gear Train/Install Pallet/Balance/Oscillation Test
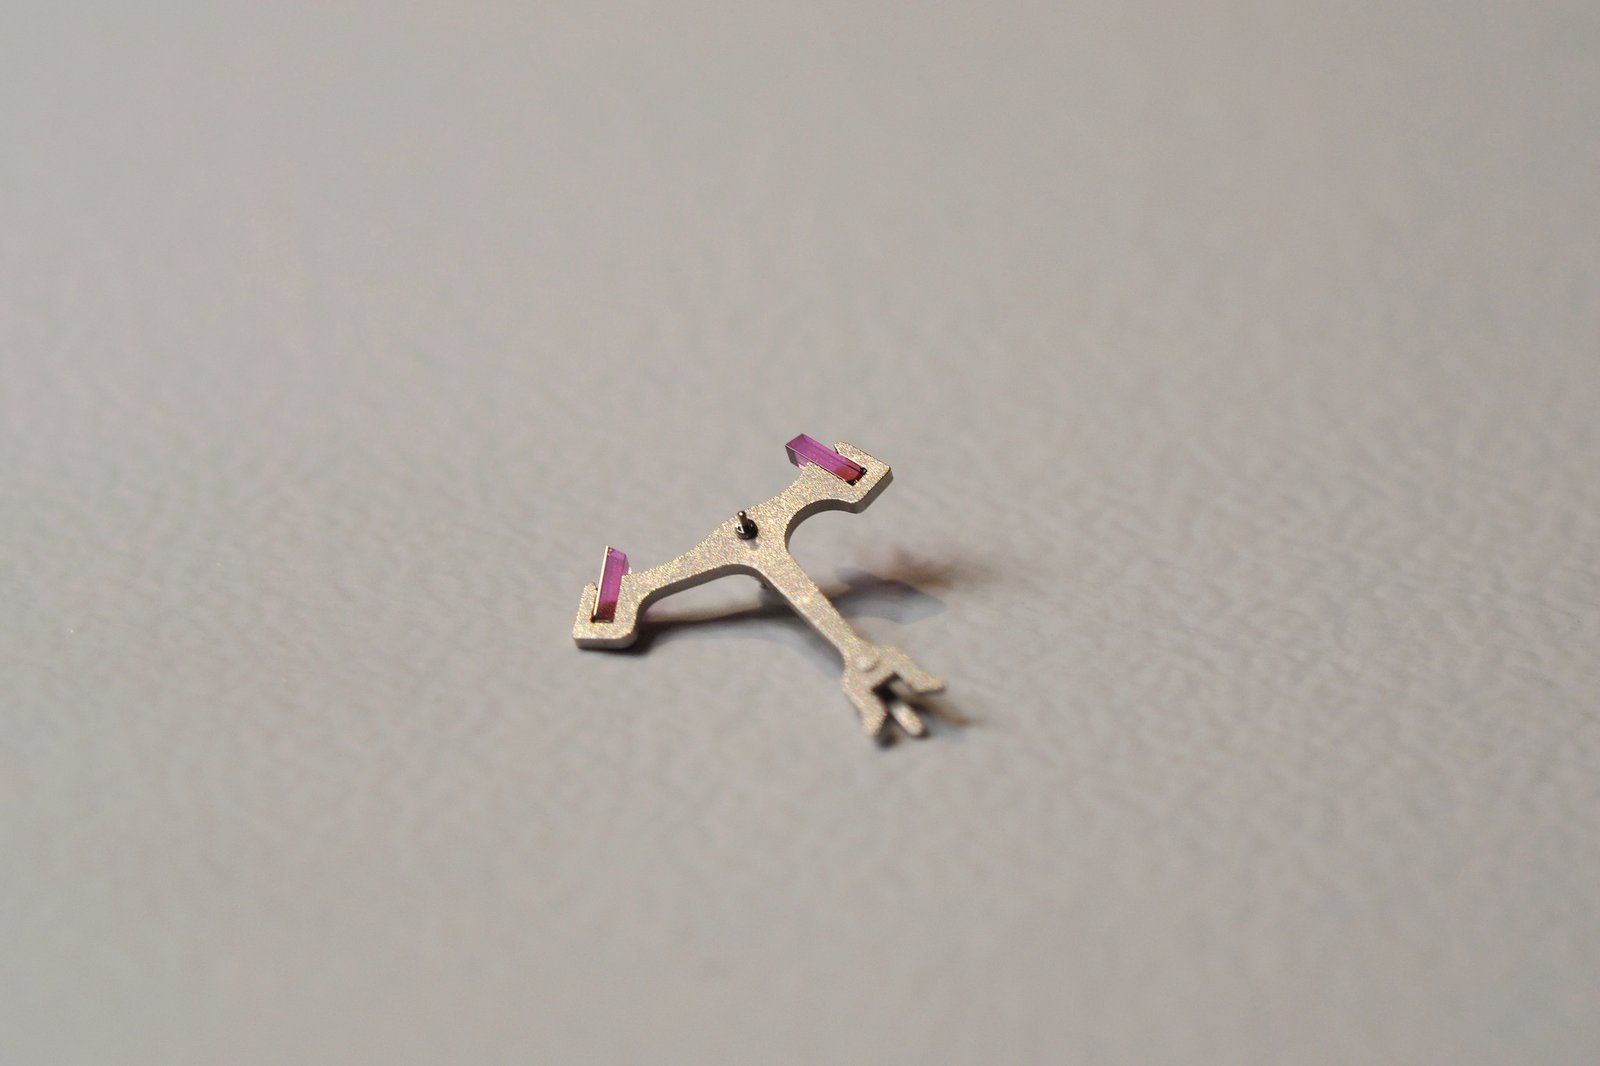
20- oil gear train w/ a few different viscosities of oil (differentiated by color), 21- install pallet fork, 22- install pallet bridge (make sure pivot is in the correct position), 23- screw down two pallet bridge screws, 24- install balance bridge, nudge with tweezers and get balance wheel going, if it starts going smoothly it’s installed correctly (short video on Instagram), 25- screw-down balance bridge if it oscillates properly


Dial side assembly
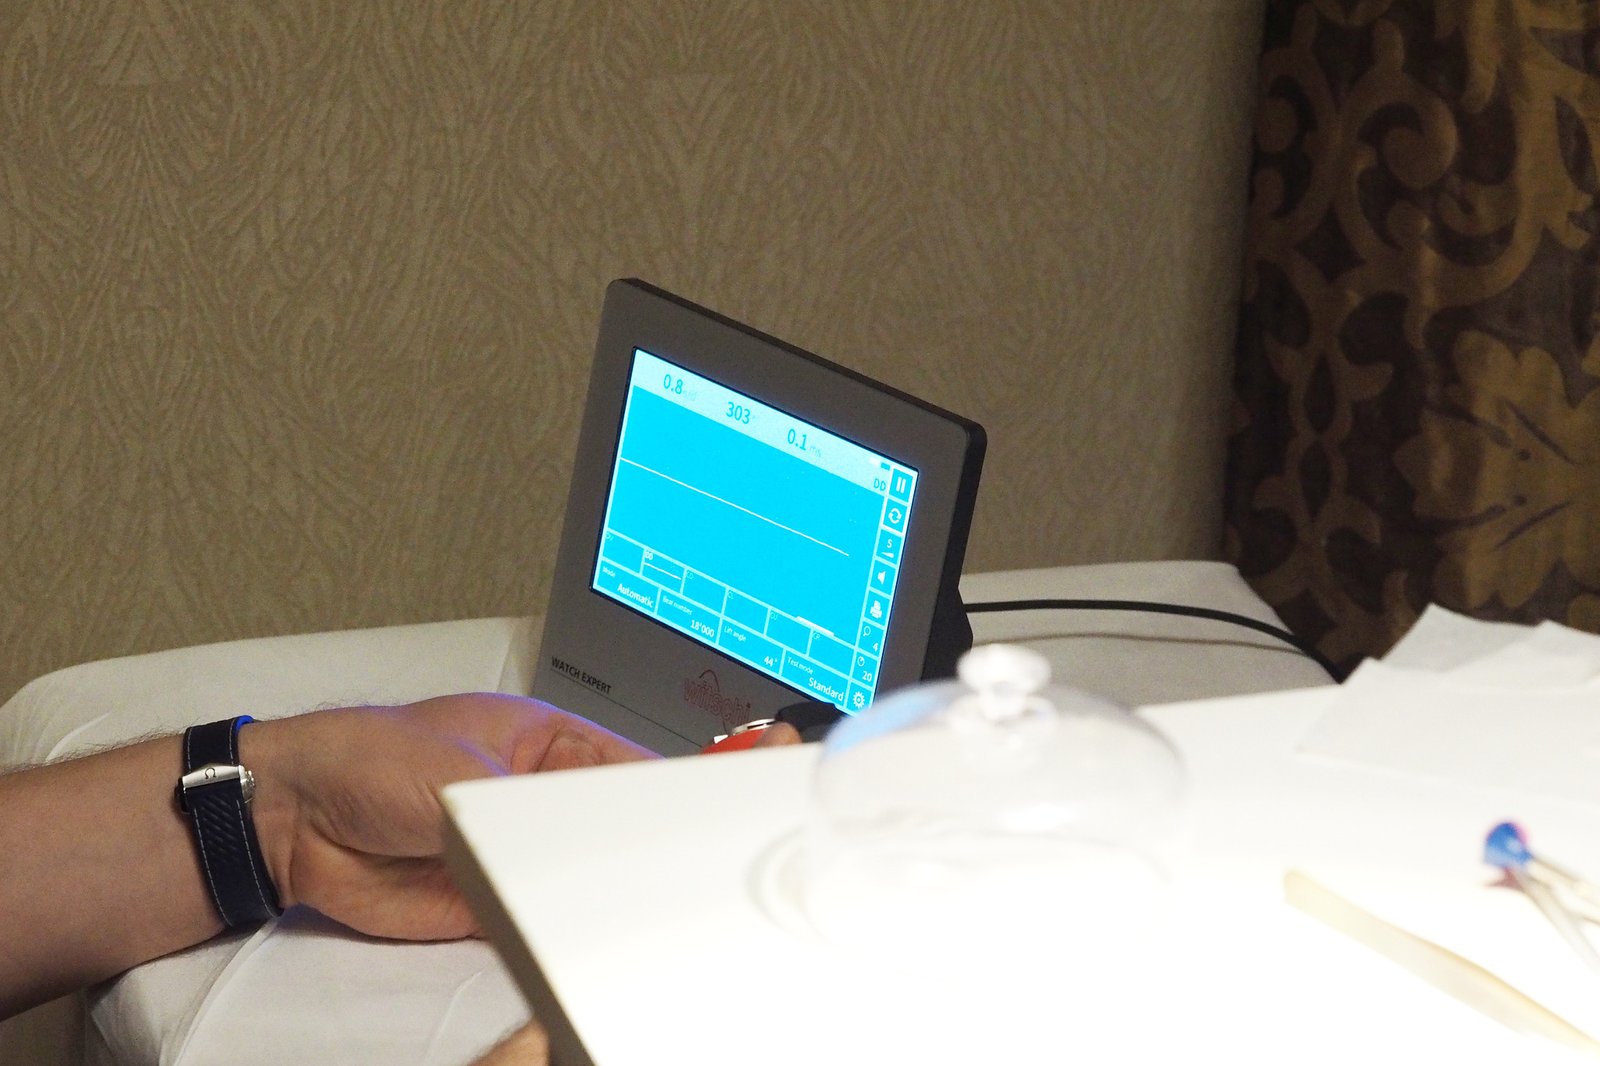
26- Remove movement from movement holder, flip over to dial side, secure, 27- lubricate inside of cannon pinion, 28- install cannon pinion on center wheel pivot, 29- demagnetize movement with demagnetization machine 30- make rate adjustments/testing on Witschi machine prior to casing up, 31- oil cannon pinion

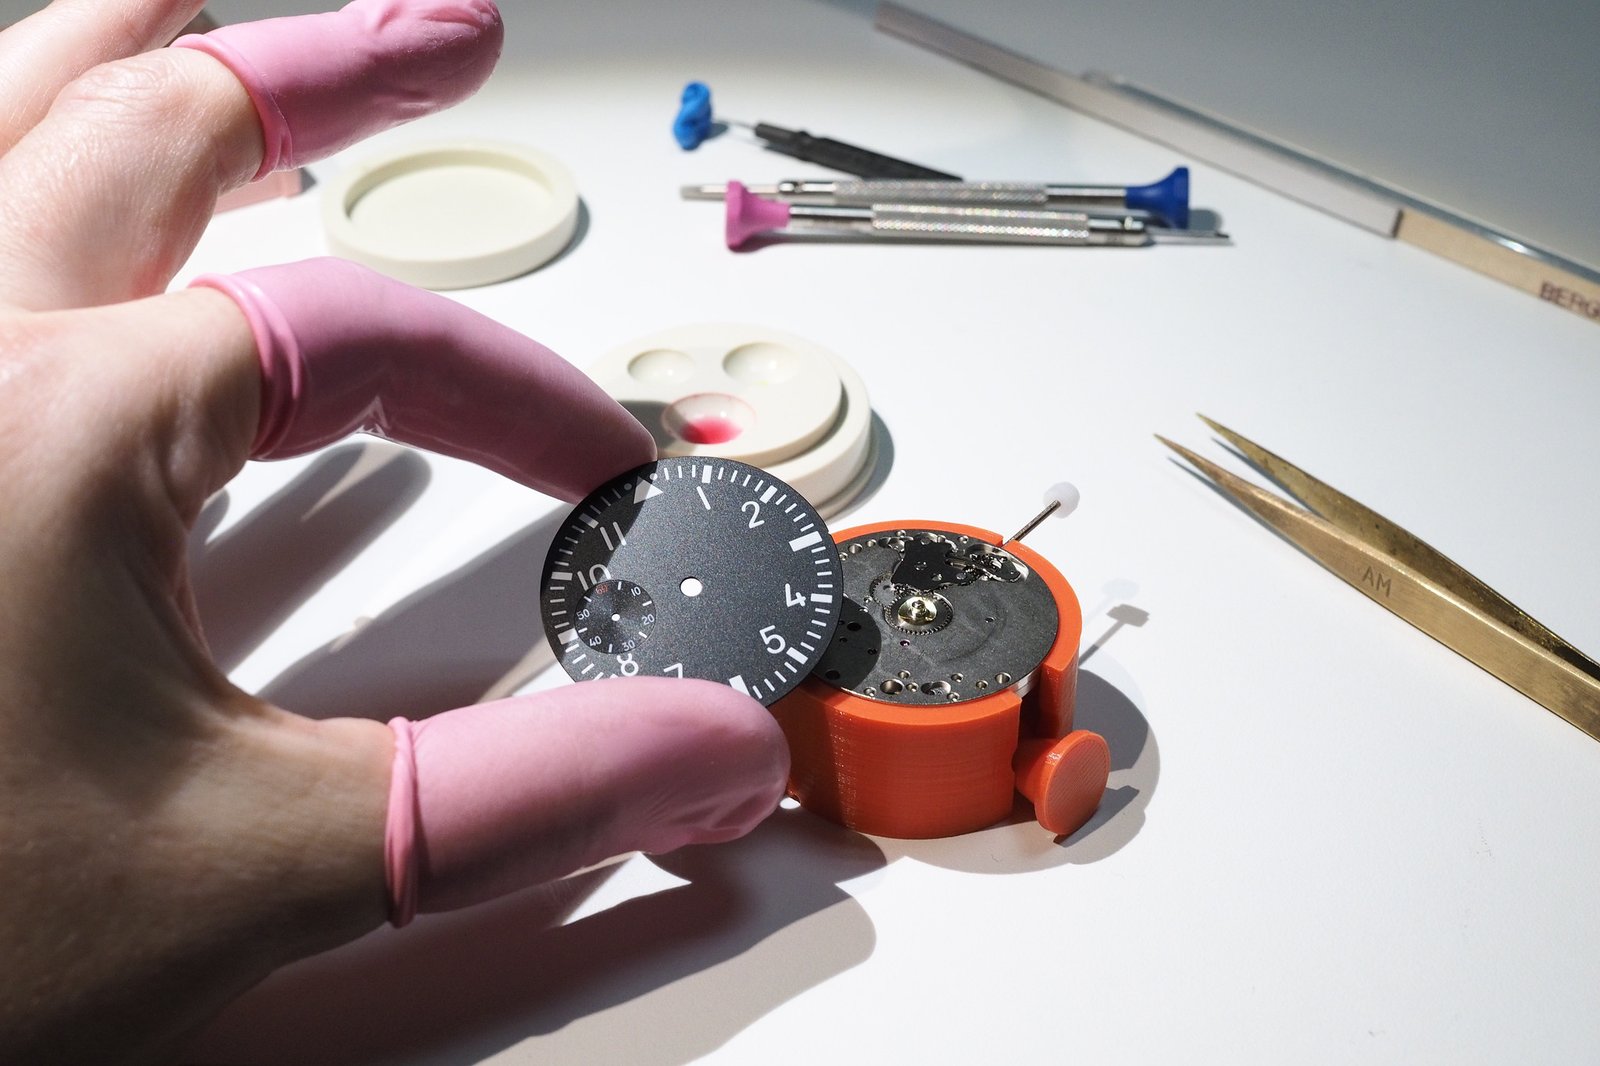
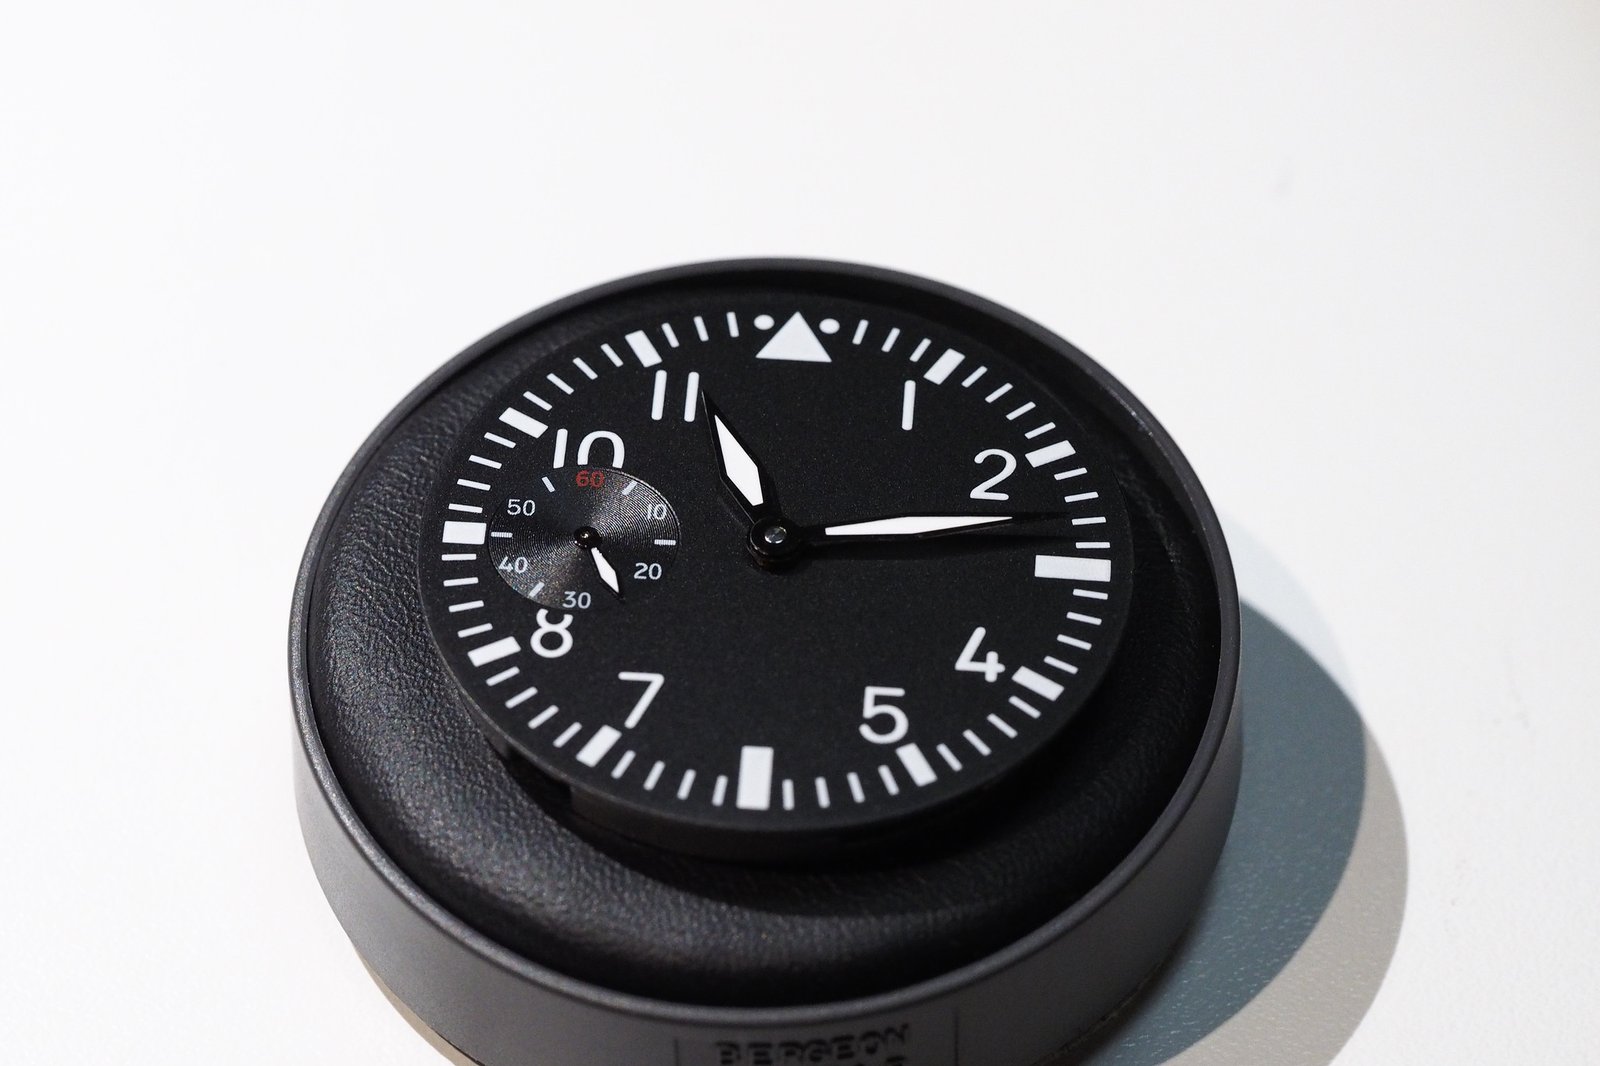
Installing the hour wheel and dial
32- install hour wheel, 33- place washer (foil) facing upwards on hour wheel, 34- mount dial to the movement/align with crown/fit dial feet to holes, 35- screw down two screws on bridge side to secure dial

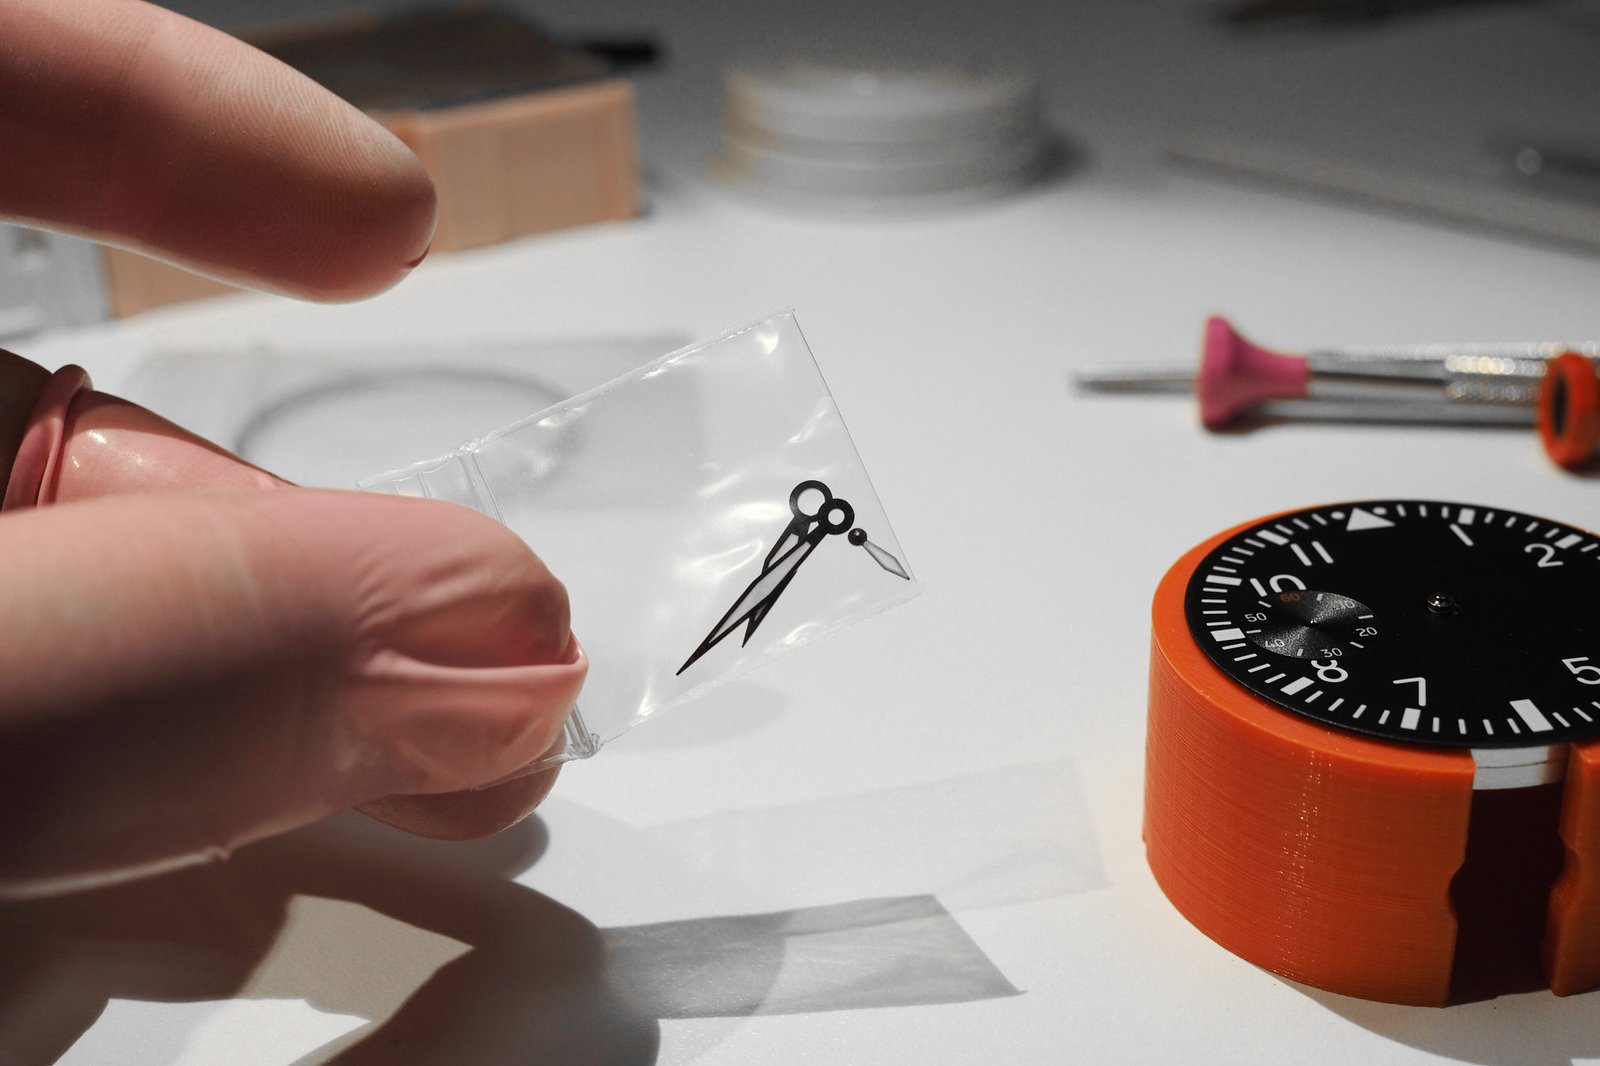
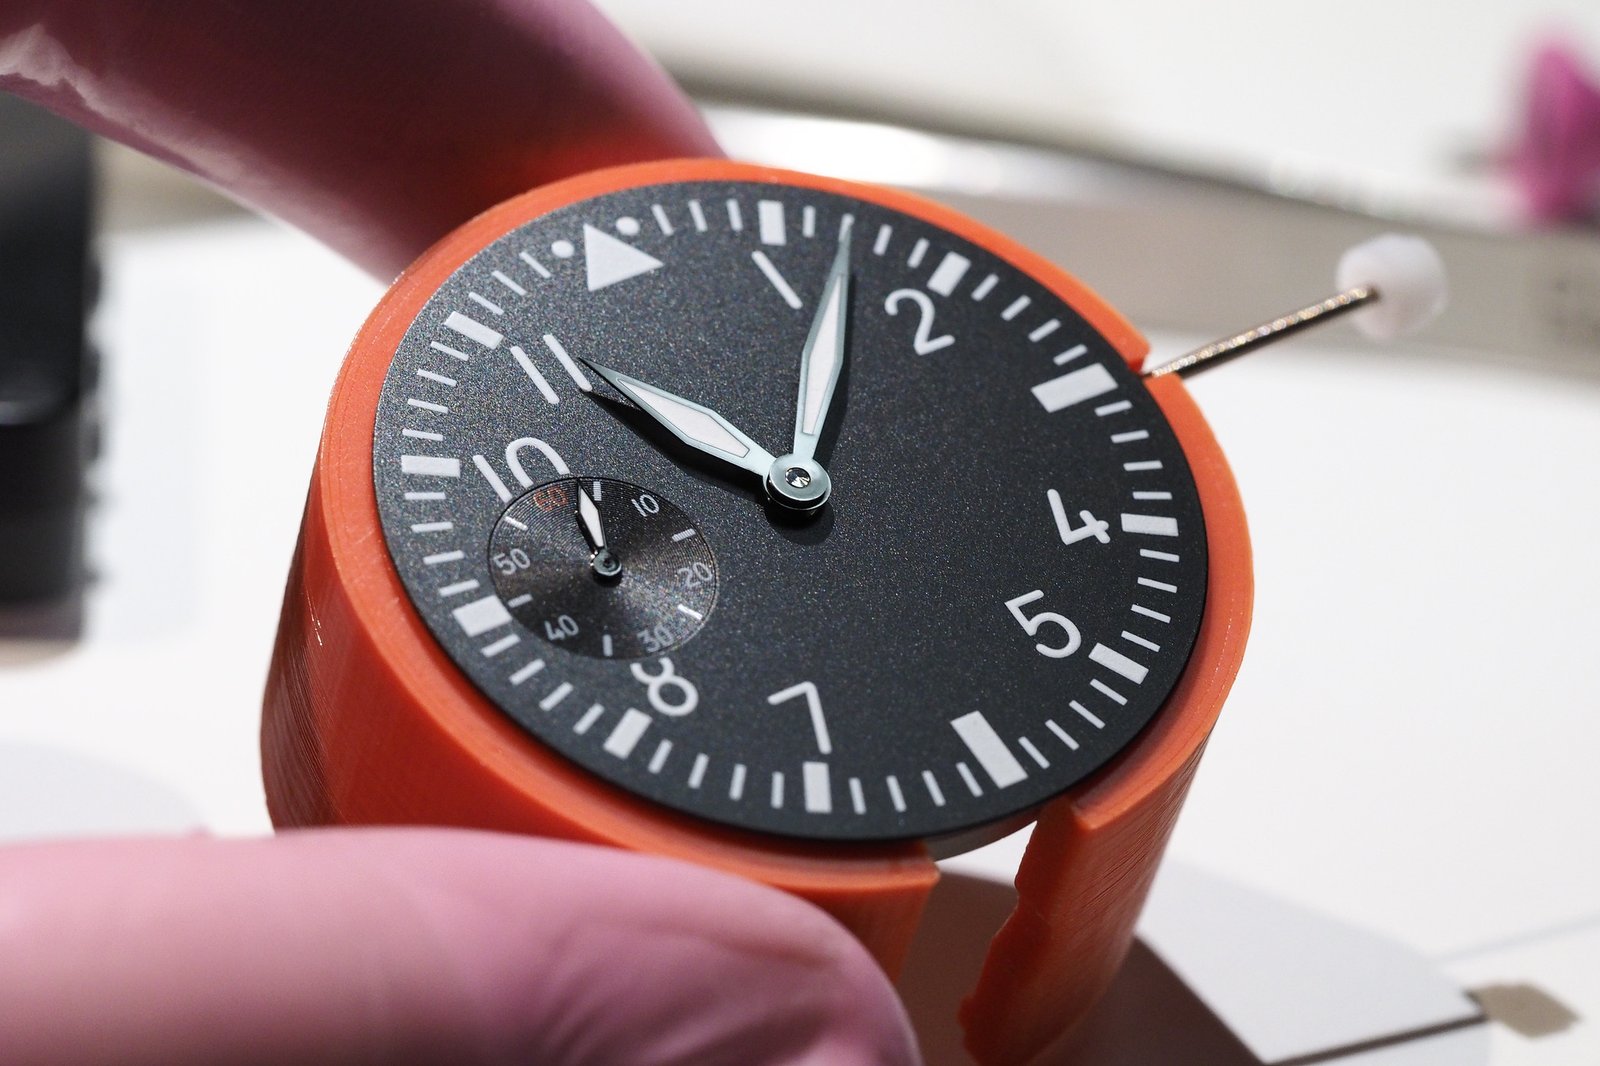
Installing the Hands
36- install small seconds hand using wooden tweezers, then press each one down with Bergeon hand setter (hand press), 37- install hour hand at any hour marker (press w/press), install minute hand (make sure hour hands is at 9 o’clock), minute hand (at 12), use Bergeon press, test alignment hour changeover by advancing the hand using the crown, test alignment between hour and minute hands (vertically), if hands are touching they need to be bent slightly so they do not touch, 38- remove set lever screw, remove temporary crown stem, place watch dial up on casing cushion

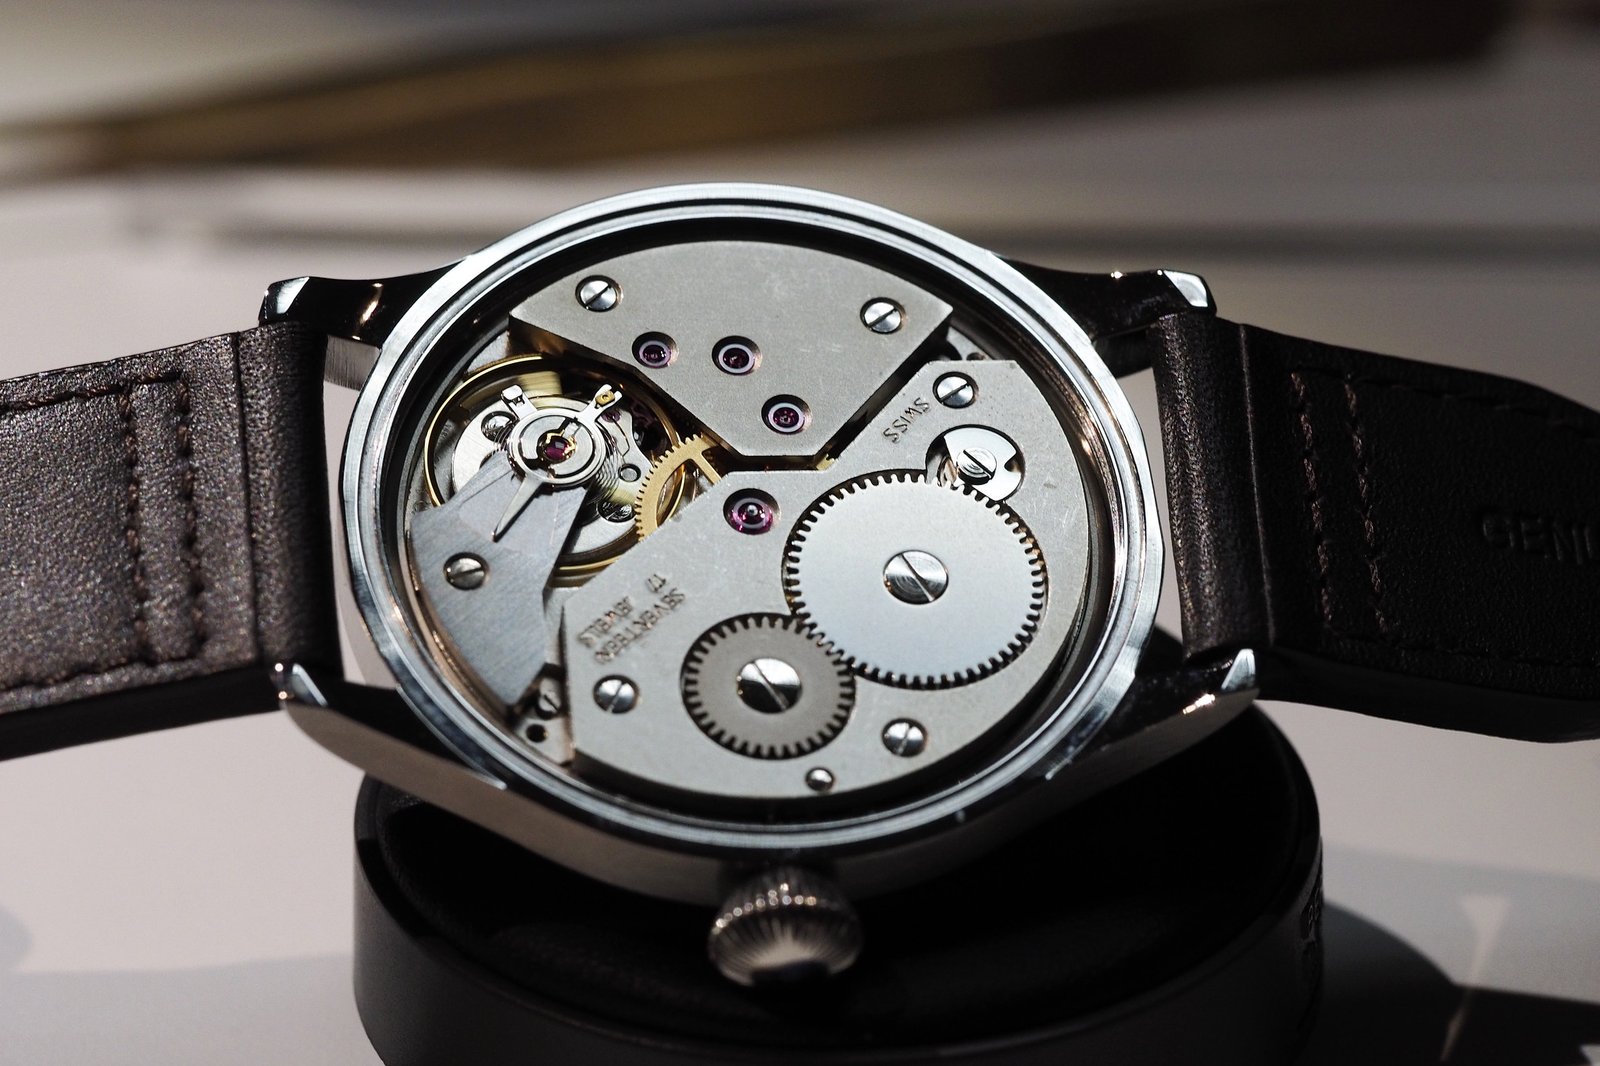
Cased Up Movement
39- drop movement onto case, 40- install movement ring w/movement, 41- install the casing clamps, install casing clamp screws, 42- place waterproof gasket on back, 43- hand tighten caseback, 44- use caseback tightening tool and tighten all the way, 45- test waterproofness using watch waterproof testing machine
Re-Test/Finish
46- Retest using the Witschi machine. 47- If the test results are good, wear your watch and enjoy it!
Summary
The amount of knowledge you acquire by assembling the watch from scratch is essential to understanding the mechanics of watchmaking at an advanced level. And that’s why this course is not only designed for the watch lover, but also for those who want to pursue a career as a watchmaker. This class is just the first of many offered by the AWCI year-round. The class was truly an incredible experience that I highly recommend!
Learn more at AWCI.
